If you’re a vinyl enthusiast looking to bring your collection into the digital age, you’ve come to the right place. In this article, we will explore the best methods for digitizing vinyl records, allowing you to preserve and enjoy your favorite music in a modern format. Whether you’re a newbie or a seasoned pro, we’ve got you covered with expert tips and tricks to ensure your vinyl-to-digital conversion is a smooth and successful process. So grab your favorite record, dust off your turntable, and let’s explore the best ways to digitize vinyl records!
Hardware Required
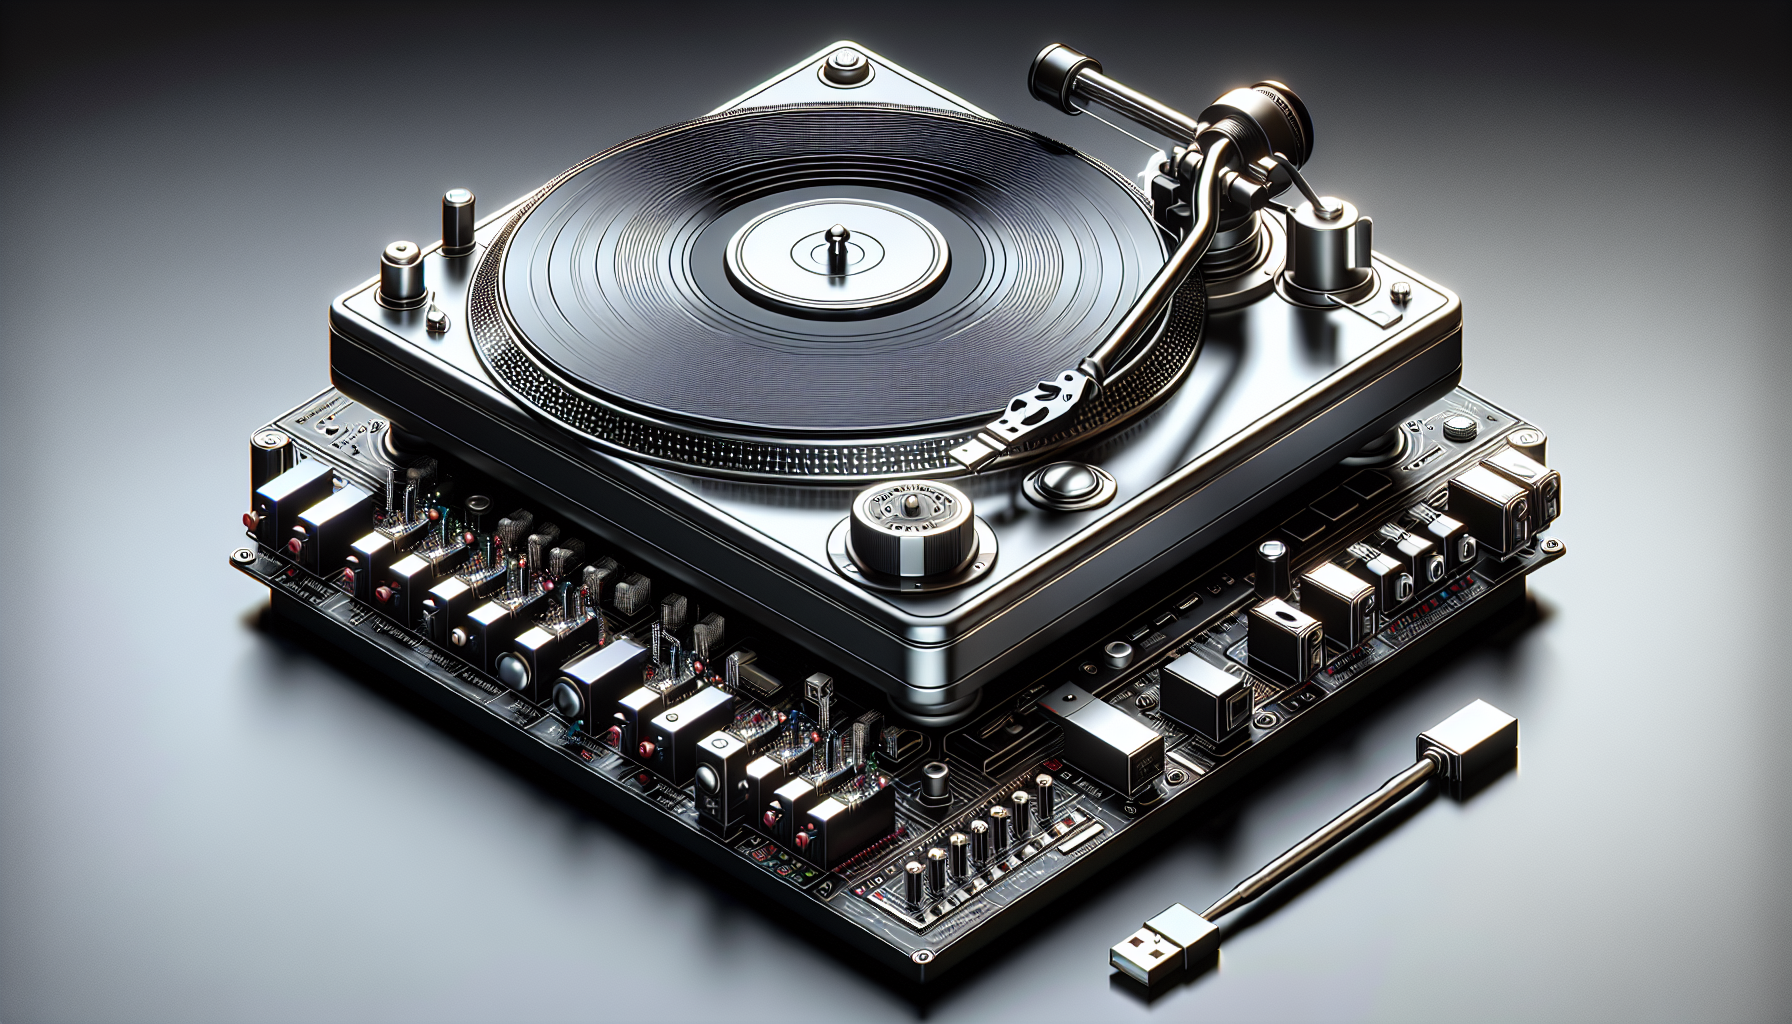
USB Turntable
To digitize your vinyl records, you will need a USB turntable. This type of turntable is specially designed to connect directly to your computer, allowing you to easily transfer your vinyl records into a digital format. USB turntables come with built-in analog-to-digital converters, which convert the analog signal from your records into a digital format that can be processed by your computer.
Turntable
Of course, you will also need a traditional turntable to play your vinyl records. While USB turntables have become more popular in recent years, many vinyl enthusiasts still prefer the sound quality and features of traditional turntables. If you already own a turntable, you can still digitize your vinyl records by using a separate preamp and analog-to-digital converter.
Preamp
A preamp is a crucial component when digitizing your vinyl records. Its primary function is to amplify the weak audio signal produced by the needle and cartridge on your turntable. This amplified signal is then sent to the analog-to-digital converter for conversion into a digital format. Make sure to choose a preamp that matches the specifications of your turntable and ADC for optimal performance.
Analog-to-Digital Converter (ADC)
The analog-to-digital converter (ADC) is the device responsible for converting the analog audio signal from your vinyl records into a digital format that your computer can understand. USB turntables are equipped with built-in ADCs, but if you are using a traditional turntable, you will need an external ADC to connect to your computer.
Software Needed
Digital Audio Workstation (DAW)
A digital audio workstation, or DAW, is essential for capturing and editing your digitized vinyl recordings. There are numerous DAW options available, ranging from free to professional-grade software. Some popular choices include Pro Tools, Ableton Live, and Logic Pro. Choose a DAW that suits your needs and level of expertise.
Audio Editing Software
In addition to a DAW, you will also need audio editing software to fine-tune your digitized recordings. This software allows you to make adjustments to the sound quality, remove any imperfections or background noise, and enhance the overall audio. Audacity is a popular free option for audio editing, while Adobe Audition is a more advanced paid software.
Noise Reduction Software
If your vinyl records have significant background noise or other imperfections, using noise reduction software can greatly improve the quality of your digitized recordings. Software like iZotope RX or Waves Z-Noise are specifically designed to reduce unwanted noise while preserving the integrity of the audio signal.

Preparation
Clean the Vinyl Records
Before digitizing your vinyl records, it’s important to clean them thoroughly. Dust, dirt, and fingerprints can negatively affect the audio quality and cause playback issues. Use a record cleaning brush or a specialized vinyl record cleaning kit to remove any debris from the surface of the record. Be gentle and make sure not to damage the delicate grooves.
Inspect the Record
Take the time to inspect each vinyl record for any visible damage or scratches. Deep scratches or cracks can interfere with the playback and may be difficult to correct during the digitization process. If you come across any severely damaged records, it’s best to avoid digitizing them and consider seeking professional help for restoration.
Choose the Right Equipment
Ensure that you have the necessary hardware, such as a USB turntable, preamp, and ADC, or a traditional turntable with a separate preamp and ADC. Check the compatibility of your equipment and make sure everything is set up properly before proceeding with the digitization process.
Set Up the Equipment
Proper setup of your turntable, preamp, and ADC is crucial for obtaining high-quality digitized recordings. Follow the manufacturer’s instructions for setting up each piece of equipment. Connect the necessary cables, make sure the power is turned on, and double-check the connections before moving on to the next step.
Connecting the Equipment
Connect the Turntable to the Preamp
If you are using a traditional turntable instead of a USB turntable, connect the turntable’s output cables (usually RCA cables) to the input jacks of your preamp. Ensure that the left and right channels are correctly connected. Most preamps will have separate input jacks for each channel.
Connect the Preamp to the ADC
After connecting the turntable to the preamp, use another set of RCA cables to connect the preamp’s output to the input jacks of the ADC. Again, make sure to connect the left and right channels correctly.
Connect the ADC to the Computer
If you are using a USB turntable, simply connect it to your computer using a USB cable. The computer should recognize the USB turntable as an audio input device automatically. If you are using a separate ADC, follow the manufacturer’s instructions for connecting it to your computer, usually through USB or Firewire.

Adjusting Settings
Set the Turntable Speed
Ensure that your turntable is set to the correct speed for the vinyl record you wish to digitize. Most vinyl records are played at either 33 1/3 RPM (revolutions per minute) or 45 RPM. Some turntables have a switch or button to select the speed, while others may require manually adjusting the belt or moving the pulley.
Set the Input Level
Adjust the input level on your preamp or ADC to get the optimal signal strength without distortion. Too high of an input level can cause clipping and distortion, while too low of a level may result in a weak and noisy recording. Follow the manufacturer’s instructions for your specific equipment to find the ideal input level.
Choose the File Format
Select the file format in which you want to save your digitized recordings. WAV and AIFF formats offer the highest audio quality but result in larger file sizes. Alternatively, you can choose compressed formats such as MP3 or FLAC, which preserve audio quality while reducing file size. Consider the amount of storage space you have available and the intended use of the recordings when choosing a file format.
Select the Sample Rate and Bit Depth
The sample rate and bit depth determine the quality and accuracy of your digitized recordings. The standard sample rate for audio CDs is 44.1 kHz, while bit depth refers to the number of bits used to represent each sample. Higher sample rates and bit depths can capture more audio detail but result in larger file sizes. Choose the sample rate and bit depth based on your desired audio quality and available storage space.
Recording
Start the Recording Software
Launch your chosen DAW or recording software on your computer. Ensure that it is properly configured to receive the audio input from your USB turntable or external ADC. Create a new audio track or project to start recording.
Place the Needle on the Record
Carefully place the needle of your turntable or USB turntable onto the vinyl record. Verify that the turntable is rotating at the correct speed and that the audio signal is being properly captured by your recording software. Monitor the audio levels to ensure that they are within an acceptable range and adjust the input level if necessary.
Monitor the Recording Levels
Continuously keep an eye on the recording levels while digitizing your vinyl records. Avoid recording audio that is too quiet, as it may require extensive amplification during the editing process and result in increased background noise. Similarly, avoid recording audio that is too loud, as it can cause distortion and clipping. Make adjustments to the input level as needed to maintain optimal recording levels.
Avoid Bumping or Touching the Turntable
During the recording process, it’s important to minimize any movement or vibration that can be picked up by the turntable. Avoid bumping or touching the turntable while the needle is on the record to prevent unwanted noise and disturbances in the audio signal.

Editing and Enhancing
Remove Unwanted Noise and Clicks
Once you have digitized your vinyl records, it’s common to encounter unwanted noise, pops, and clicks. These imperfections can be distracting and diminish the overall listening experience. Utilize your audio editing software’s noise reduction tools to eliminate these unwanted artifacts and improve the clarity of your recordings. Experiment with different settings and preview the changes to find the best balance between noise reduction and audio quality.
Split Tracks and Add Metadata
To make your digitized vinyl records easier to navigate and organize, it’s essential to split them into individual tracks and add metadata. Use your audio editing software to mark the beginning and end of each track, and assign appropriate track names, artist names, and album titles. This metadata will help you keep your digital music library organized and make it easier to search for specific songs or albums.
Equalize and Normalize the Audio
Equalization can help balance the frequency response of your digitized vinyl recordings. Use your audio editing software to adjust the bass, midrange, and treble levels to your preference. Additionally, consider using a normalization tool to bring the overall volume of your recordings to a consistent level. This can help prevent drastic volume differences between tracks and ensure a more enjoyable listening experience.
Apply Effects and Enhancements
Once you have addressed any issues and made necessary adjustments, you can further enhance your digitized vinyl recordings with effects. Experiment with options like reverb, compression, and stereo widening to add depth and character to your recordings. However, be cautious not to overdo it, as excessive effects can detract from the authenticity of the original vinyl sound.
Saving and Exporting
Save the Edited File
After completing the necessary editing and enhancements, save your work in your chosen audio editing software’s native project format. This will allow you to easily revisit and make further modifications to your digitized vinyl recordings in the future. Remember to save your work regularly to prevent data loss.
Export to Different Formats
To ensure compatibility with various devices and platforms, export your digitized vinyl recordings to different audio formats. If you chose a lossless format like WAV or AIFF, consider exporting a compressed format like MP3 or AAC for easy playback on portable devices or streaming platforms. Retain a high-quality version for archival purposes and keep compressed copies for everyday listening.
Tagging and Organizing the Files
To enhance the organization and accessibility of your digitized vinyl recordings, add tags and metadata to the exported audio files. This includes information such as song titles, album titles, artist names, and genre. Take the time to review and ensure that all the necessary information is correctly assigned to each individual track. This will make it easier to search, sort, and organize your digital music library.
Backup the Digitized Files
Once you have digitized your valuable vinyl records, it’s crucial to create backups of your digitized files. These backups will protect your digitized recordings from accidental deletion, hardware failures, or data loss. Consider using external hard drives, cloud storage services, or multiple storage devices to ensure the safety and longevity of your digitized vinyl recordings.
Advanced Techniques
Advanced Noise Reduction
If you’re not satisfied with the noise reduction provided by basic software tools, consider exploring advanced noise reduction techniques. Professional-grade software like iZotope RX offers advanced algorithms and tools specifically designed to tackle even the most challenging noise issues. These advanced techniques can help restore older or more damaged vinyl records to their optimal audio quality.
Manual Track Splitting
While automated track splitting in audio editing software can save time, it may not always accurately detect the start and end points of each track. For more precise track splitting, consider manually selecting the sections corresponding to each individual track. This method allows you to fine-tune the track boundaries and ensure seamless transitions between tracks.
Enhancing Low-quality Records
If you have vinyl records with lower sound quality or inadequate recordings, there are techniques you can employ to enhance the audio. Software tools like spectral repair can help reduce or remove specific noises or imperfections, while equalization can compensate for lacking frequency response. Experiment with different techniques to improve the overall sound quality of your lower-quality vinyl records.
Restoring Damaged Records
In some cases, vinyl records may have significant damage or wear that affects the audio playback. If you encounter records with deep scratches, cracks, or other damage, restoration techniques can help. Seeking professional help from experienced audio restoration specialists or vinyl record restoration services can provide you with the best chance of restoring the audio quality and preserving the historical value of the records.
Conclusion
Digitizing your vinyl records not only preserves and protects your cherished collection but also makes it easier to enjoy your favorite music in a modern digital format. With the right hardware and software, along with proper preparation and attention to detail, you can capture the warmth and nostalgia of those vinyl recordings while optimizing them for the digital world. Follow the steps outlined in this comprehensive guide, and you’ll be well on your way to digitizing your vinyl collection and embarking on a new musical journey. Happy digitizing!

Hi there! I’m Eric Hoffman, the author behind EpicTurntable.com. I’m passionate about revolutionizing your music experience through vinyl. At EpicTurntable.com, you’ll find everything you need – from turntables and vinyl records to accessories. Whether you’re an audiophile or just starting out, I offer expert reviews, insightful articles, and the latest trends in the world of turntables. Dive into our community forums to connect with fellow vinyl lovers, or explore our online store for exclusive deals. Join me at EpicTurntable.com, where I’m dedicated to bringing you the classics and the latest hits all in one place!